Revolutionize Your Tattoo Game: DIY Tattoo Stencil No-Transfer Paper Needed!
Revolutionize Your Tattoo Game: DIY Tattoo Stencil No-Transfer Paper Needed!
In a world where tattooing is a multi-billion dollar industry, the art of creating intricate designs and patterns has never been more accessible to individuals. Gone are the days when tattoo artists relied solely on freehand techniques and expensive machines. Today, with the rise of DIY tattoo stencils, anyone can become a tattoo artist, without the need for transfer paper. This article delves into the world of DIY tattoo stencils, exploring the benefits, techniques, and methods to create stunning designs without breaking the bank or investing in expensive equipment.
The DIY tattoo stencil method involves using a variety of materials, including ink, tape, and a design template. The lack of transfer paper needed makes this method appealing to those on a budget or those who prefer to create their own unique designs. It's also a great option for artists who want to experiment with different techniques and materials. As tattoo artist and instructor, Marcus Pacheco, notes, "The DIY stencil method allows artists to have more control over the design and execution, which is a huge benefit, especially for those who are just starting out."
**What You Need to Create a DIY Tattoo Stencil**
To create a DIY tattoo stencil, you will need the following materials:
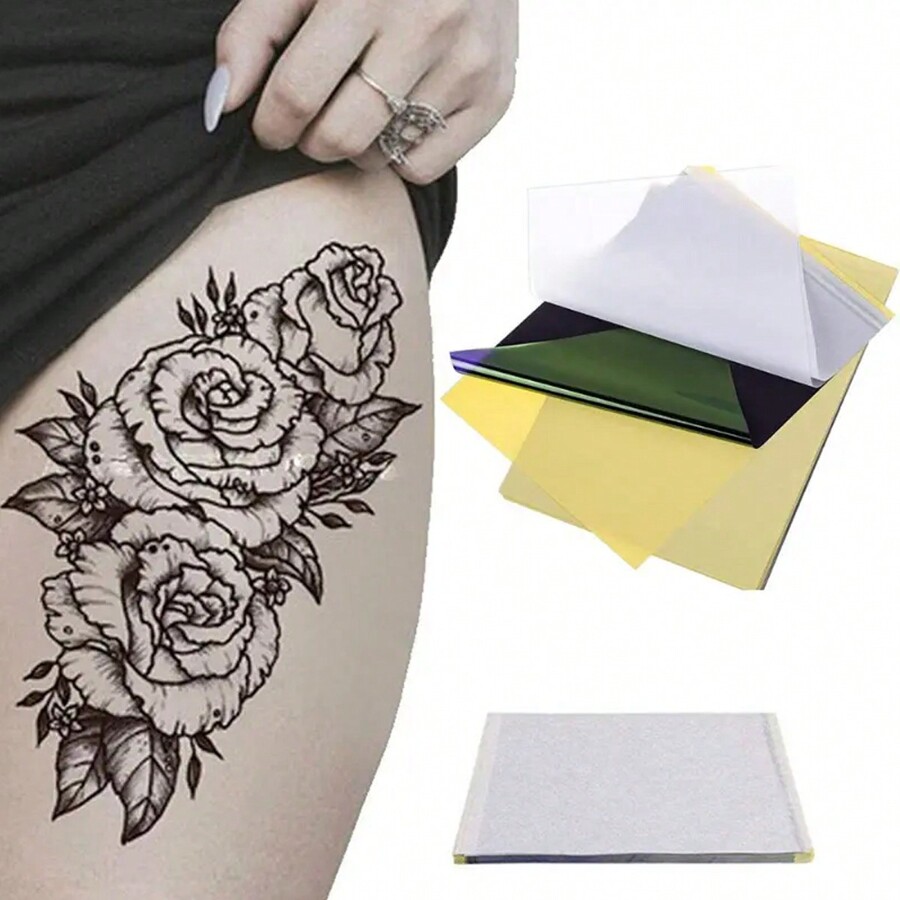
* **Ink**: You'll need a tattoo ink specifically designed for use on film, as well as a liner or tattoo machine to apply the ink.
* **Tape**: Masking tape, or packing tape will work well for this project.
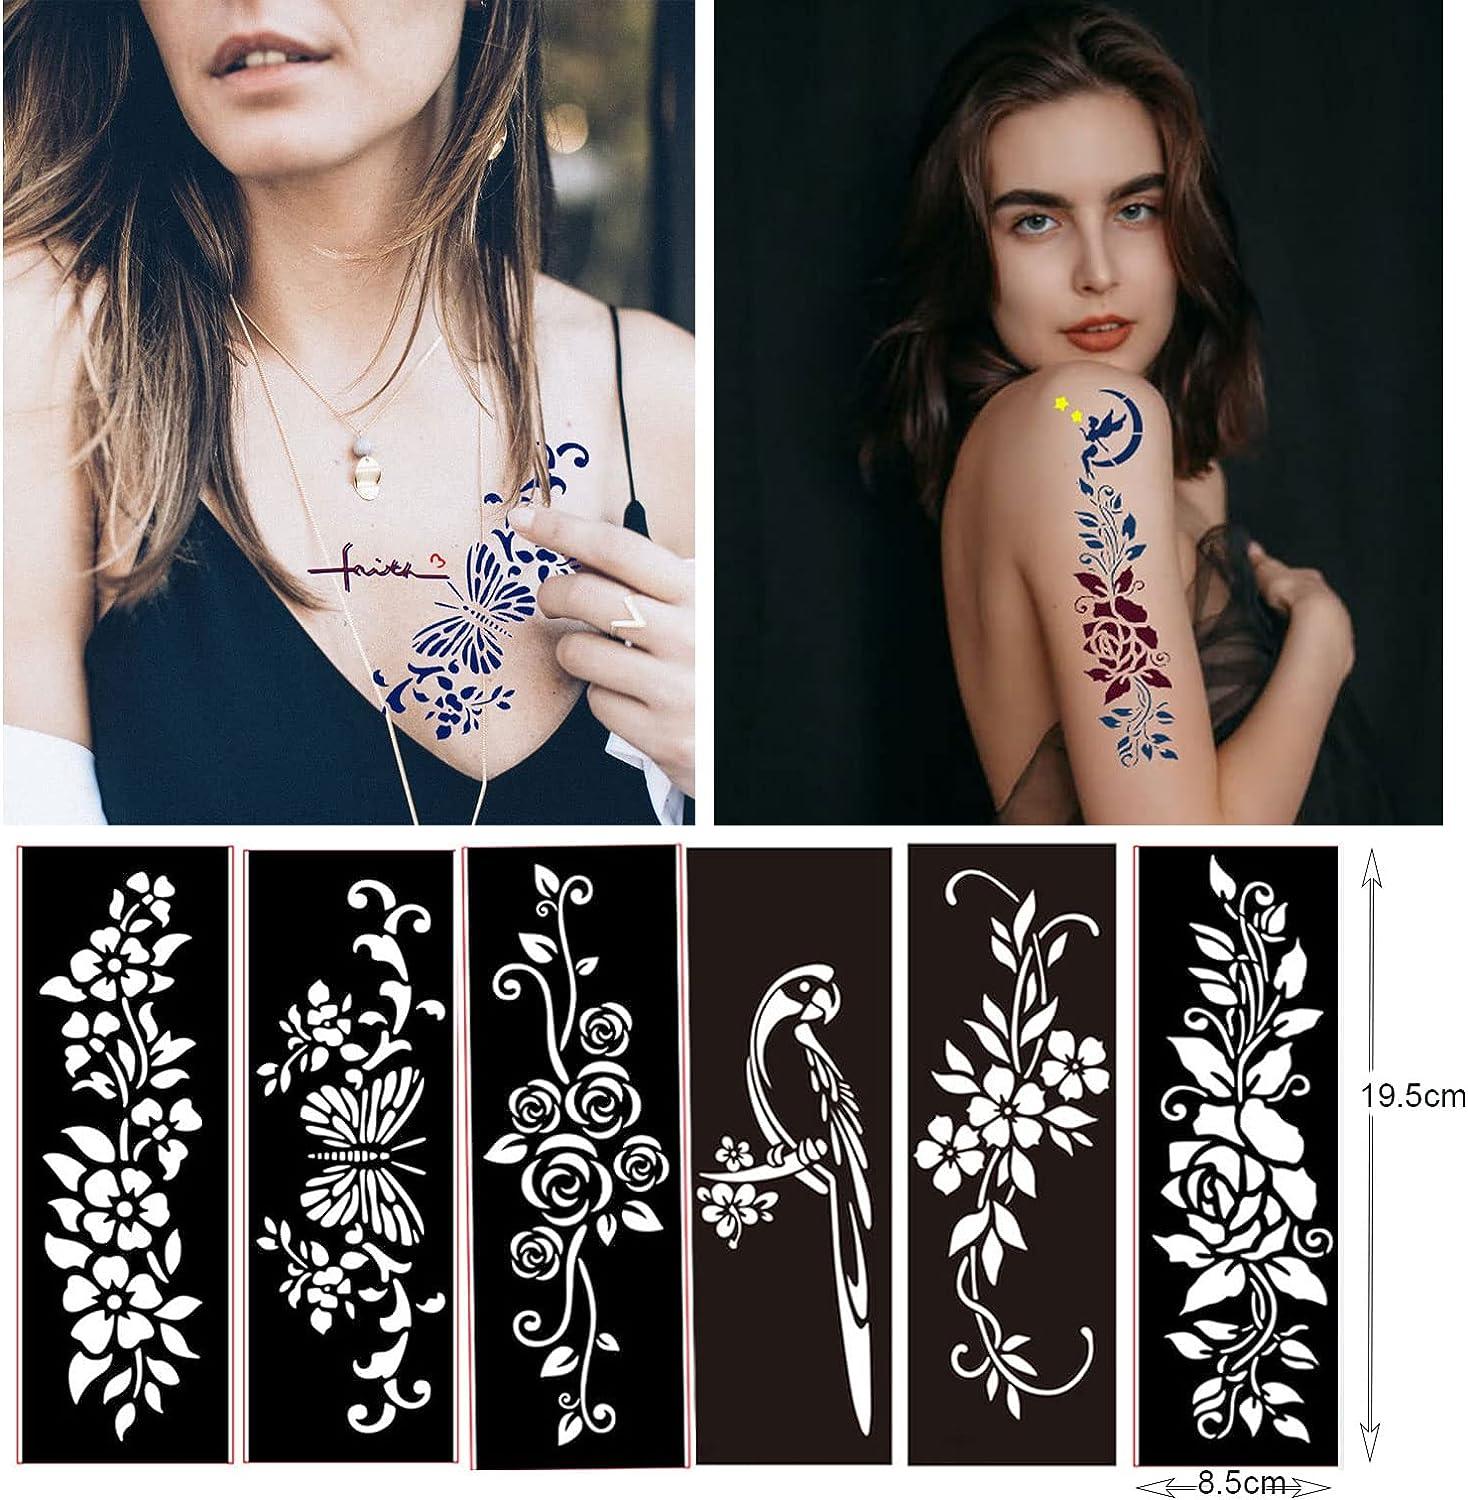
* **Design template**: You can create your own design or use a pre-made stencil as a template.
* **Materials for stenciling**: You can use stenciling materials such as ink, a squeegee, or a brush and ink pad.
"It's really just a matter of experimenting with different techniques and finding what works best for you," says tattoo artist, Natalie Carelse. "For example, you may find that using a combination of stenciling and freehand work best for the intricate details of a particular design."
**Methods for Creating a DIY Tattoo Stencil**
There are several methods for creating a DIY tattoo stencil, and the technique you choose will depend on your personal preference and design. Here are a few methods to get you started:
###
Method 1: Tape Method
This method involves applying tape to the skin to create a stencil shape. This method is great for creating direct copies of pre-made designs, or creating simple shapes and patterns.
####
Steps:
1. Apply the tape to the skin, creating the desired shape or pattern.
2. Use a tattoo machine or stencil to apply ink to the area under the tape.
3. Peel away the tape to reveal your stencil design.

###
Method 2: Spray Paint Method
For this method, you'll need a spray paint and a spray bottle. This method is great for creating detailed designs and patterns.
####
Steps:
1. Create a stencil design using paper or cardstock.
2. Spray a thin coat of paint onto the stencil design.
3. Place the stencil on the skin and adjust the spray bottle to paint the design onto the skin.

###
Method 3: Tape-N-Stencil Method
This method involves using a combination of tape and a stencil to create intricate designs and patterns.
####
Steps:
1. Apply the tape to the skin to create the desired shape or pattern.
2. Place a stencil over the tape, securing it with additional tape.
3. Paint the stencil using a tattoo machine or stencil.
4. Peel away the tape and stencil to reveal your design.
**Benefits of Using a DIY Tattoo Stencil**
The benefits of using a DIY tattoo stencil are numerous. For starters, it saves time and money compared to relying on a professional tattoo artist. It also gives artists the freedom to experiment with different techniques and materials. Additionally, DIY tattoo stencils allow for precision and control, making it easier to create intricate designs and patterns.
Common Mistakes to Avoid in DIY Tattoo Stenciling
While DIY tattoo stenciling can be a fun and creative process, there are a few common mistakes to avoid:
* **Incorrect ink consistency**: Make sure to use tattoo ink specifically designed for film.
* **Incorrect stencil application**: Ensure that the stencil is securely attached to the skin.
* **Insufficient ink application**: Allow the ink to dry completely between stencils to ensure a crisp, even finish.
* **Inadequate patience**: The stenciling process requires patience and attention to detail.
**Tips for Successful DIY Tattoo Stencil Stenciling**
Creating a DIY tattoo stencil can be a fun and rewarding experience. Here are a few tips to help you achieve successful results:
* **Keep it simple**: Start with simple designs and gradually move to more intricate patterns.
* **Experiment with different techniques**: Find the methods that work best for you and your design.
* **Practice consistently**: The more you practice, the better you'll become at creating clear stencils and achieving even ink results.
* **Keep it sterile**: Always use sterile equipment and follow proper sanitation procedures to avoid infection.
**Conclusion**
In conclusion, creating a DIY tattoo stencil without transfer paper is a fun and accessible way to get started with tattooing. With the right materials and techniques, anyone can create intricate designs and patterns without breaking the bank or investing in expensive equipment. Whether you're a seasoned artist or just starting out, the DIY tattoo stencil method is a great way to experiment with different techniques, materials, and styles. So, what are you waiting for? Get creative and start stenciling!


Related Post

Fort Walton Beach Accident Reports: A Deep Dive into the City's Traffic Safety Concerns

Uncovering the Mad Hatter's Most Wondrous Quotes From Alice In Wonderland

The Future of Justice: Exploring the Innovations and Initiatives of Mn Courts Gov

The Rise of M2F Trans Individuals: Unpacking Identity, Community, and Inclusivity